
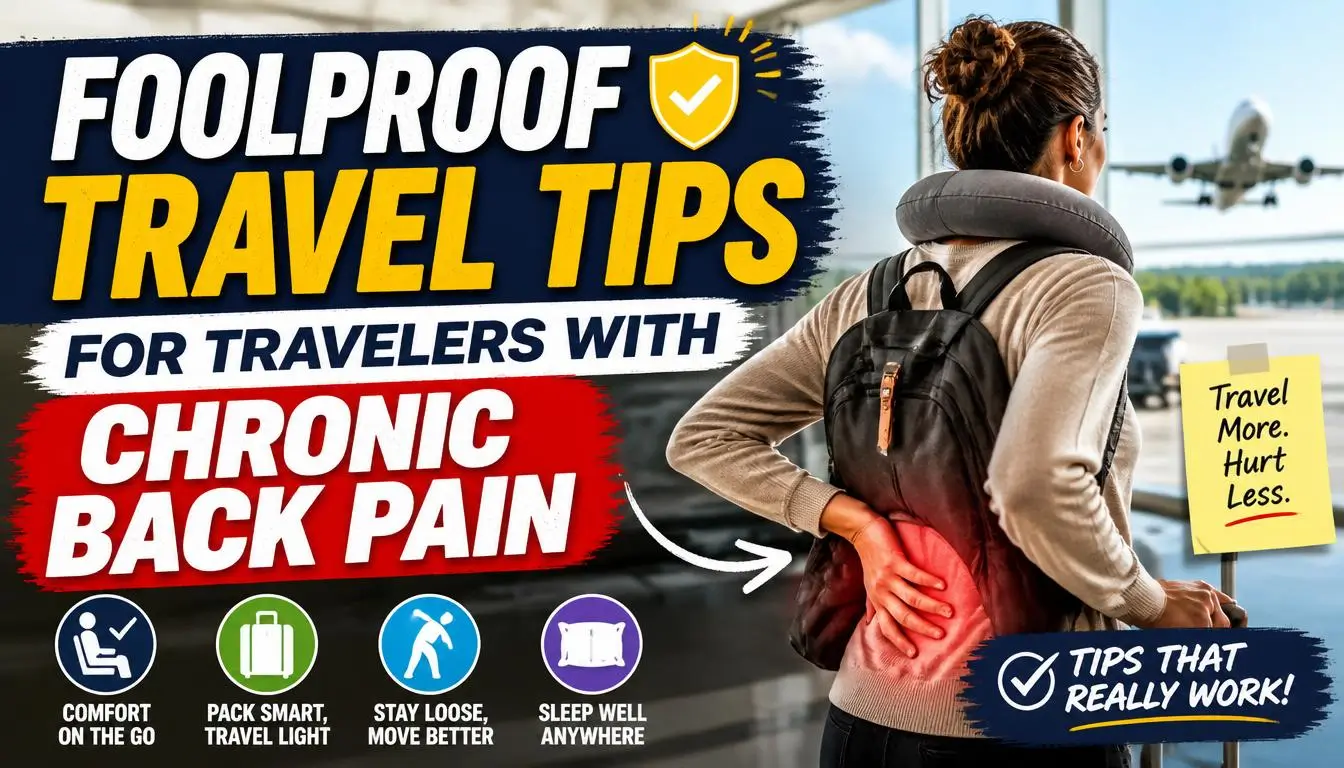
Foolproof Travel Tips for Travelers with Chronic Back Pain
Finding foolproof travel tips for travelers with chronic back pain feels impossible when most advice amounts to “stretch more” and “pack light,” as if a lumbar pillow and positive thinking will fix a herniated disc at 35,000 feet. I’ve had chronic lower back pain for eight years from a combination of a car accident and a desk job that did me no favors. I’ve also been to 31 countries since the diagnosis. These strategies are what actually worked, not what a travel blogger without back pain thinks should work.
Get a Pre-Trip Medical Clearance and Medication Review
This is the step most people skip and the one that matters most.
Before any significant trip, I see my physiatrist or pain management doctor. Not because I need permission to travel, but because I need updated tools.
That appointment covers:
- Whether my current medication is adequate for extended travel days
- Whether I need a short-term prescription for something stronger for particularly demanding travel days
- Updated documentation for medications I’m carrying internationally
- Any new exercises or stretches specific to my upcoming trip type
- Advice on activity limitations based on my current condition
My doctor once caught that I was planning a six-hour hike as part of a trip that wasn’t realistic given my current inflammation levels. I adjusted the plan before the trip instead of discovering the problem mid-trail.

I also get a letter from my doctor describing my condition, medications, and equipment needs (like a TENS unit or heating pad). This letter has cleared security questions about medical devices in multiple countries without hassle.
The appointment costs a copay. Skipping it costs you a ruined trip.
Invest in a Quality Lumbar Support Before You Go
Not all lumbar supports are equal, and the cheap $12 Amazon version will do almost nothing for serious back pain.
I use the LoveHome Memory Foam Lumbar Support ($35 to $45) for flights and car rides. It’s firm enough to actually support the lumbar curve without collapsing after 20 minutes, which is what cheap foam versions do.
For longer trips or particularly demanding travel days, I use the Therapeutica Posture Support Pillow ($80). It’s bulky to pack but worth it for overnight trains or cross-country flights.
I also bring a Tush Cush orthopedic seat cushion ($45) because airplane and train seats are designed to be neutral, not supportive. The combination of lumbar support plus seat cushion means I arrive somewhere in functional condition instead of hobbling off the plane.
These aren’t cheap. But compare them to the cost of a hotel day spent unable to leave because your back seized up, or a chiropractor visit in a foreign country.
Pack your lumbar support in your carry-on, not checked luggage. You need it during the journey, not waiting at baggage claim.
Book Specific Seats That Protect Your Back
Every seat on every plane, train, and bus is not the same for back pain sufferers.
On planes:
Bulkhead seats (the row directly behind a partition wall) give you more legroom to shift positions, but the trade-off is no seat in front to brace against when getting up, and fixed armrests that can’t go up. Not ideal for everyone.
Exit row seats have more legroom but often have less recline available and firmer seats. The extra room to stretch helps. The seat quality sometimes doesn’t.
My preference: aisle seat in rows 10 to 20, away from the engine noise in the back and the galley commotion in the front. Aisle access means I can stand, stretch, and walk without climbing over people. I do this every 45 to 60 minutes minimum.
Use SeatGuru.com to check specific aircraft seat maps before booking. Some seats have reduced recline, hidden equipment boxes underneath that limit legroom, or proximity to bathrooms that cause traffic flow past your seat constantly.
On trains:
Forward-facing window seats are the gold standard. The constant view of where you’re going reduces the visual disorientation that makes positioning harder. Tables in front of you let you brace when needed.
Avoid rear-facing seats. Watching scenery go backwards while managing back pain adds unnecessary vestibular stress.
On buses:
Seats directly over the rear axle transfer every road bump directly to your spine. I learned this the hard way on a four-hour bus ride in Portugal. Front third of the bus gives a smoother ride.
Request Wheelchair Assistance Even If You Don’t Need a Wheelchair
This trips people up because they feel they’re taking resources meant for others or that it looks dramatic.
I used to power through airports with my backpack and a bad back, by the time I reached the gate I was already in pain before even boarding.
Wheelchair assistance at airports is a free service available to anyone with mobility limitations, which chronic back pain absolutely qualifies as. You don’t need to be unable to walk. You need to have a documented condition that makes navigating large distances painful.
What wheelchair assistance actually provides:
- Staff member to push you through the airport
- Priority security screening (often through a shorter, faster lane)
- Early boarding before other passengers
- Assistance getting to and from gates, especially in large airports with long distances between terminals
- Help with carry-on bags when needed
Request this when booking your ticket, then confirm at check-in. At most major airports you can also request it at the check-in counter or the airline’s help desk.
I was reluctant the first time. Now I use it on any flight over two hours or in any airport I know involves significant walking. It means I board the plane with a functional back instead of already compromised.
Pack a Personal Back Pain Kit That Lives in Your Carry-On
Your checked luggage gets lost. Your carry-on doesn’t. Keep everything you need for back pain management on your person during travel.
My carry-on back pain kit:
Heat and cold:
- Thermacare heat wraps ($12 for a pack) that activate upon opening and provide eight hours of heat. These go through security without issue.
- Reusable cold pack that I can freeze in any hotel freezer (Therapearl brand works well at $15)
Medication:
- Prescription pain medications in original labeled containers
- Over-the-counter backup: ibuprofen and acetaminophen
- Any muscle relaxants prescribed for travel days
- Topical pain relievers: I use Biofreeze roll-on ($12) and Voltaren Arthritis Gel ($20)
Support tools:
- Lumbar pillow (as mentioned above)
- Tennis ball or lacrosse ball for targeted pressure relief
- Resistance bands for light stretching at destinations
- TENS unit if prescribed (declare this at security)
Mobility aids:
- Compression socks to reduce inflammation from long travel days
- Comfortable walking shoes with proper support, not fashion choices
Everything in this kit is within TSA guidelines. I’ve carried it internationally without issue. The doctor’s letter helps with TENS units and larger quantities of prescription medication.
Plan Your Travel Days Around Pain Management Windows
Chronic back pain has rhythms. Most people know their best and worst times of day.
I’m stiffest in the morning and usually peak functionality around 11 a.m. to 3 p.m. Long-haul travel feels significantly different during those windows versus a 6 a.m. departure when I haven’t had time to do my morning stretching routine.
I now plan travel days around my pain rhythms:
Morning departures (6 to 9 a.m.):
Require getting up 90 minutes earlier than normal to complete my full stretch and mobility routine before leaving. Non-negotiable. Rushing out the door stiff and unprepared makes the travel day significantly harder.
Midday departures (10 a.m. to 2 p.m.):
My sweet spot. I’m warmed up and functional. I take my morning medication on schedule, do my routine, and usually feel best during the actual travel.
Evening and red-eye departures:
These are hardest. Fatigue compounds pain. I take a half-dose of prescription sleep medication on red-eye flights to get some rest rather than spending eight hours lying awake in pain in an airplane seat.
I also schedule nothing strenuous for the day after any travel day longer than four hours. My back needs recovery time after extended sitting regardless of how well I managed during the journey.
Choose Hotels and Rentals Strategically for Back Support
Hotel beds are not created equal. For chronic back pain sufferers, the wrong bed means waking up unable to function on your first full day.
I research accommodation beds before booking:
What to look for:
- “Firm mattress” or “medium-firm” in descriptions or reviews
- Recent reviews mentioning bed comfort
- Ability to request specific mattress types from hotel front desks (many chain hotels have “sleep menus” or different mattress options upon request)
- Ground floor or elevator access (stairs with back pain are manageable, but carrying luggage up three flights of stairs is not)
What to avoid:
- Soft pillow-top mattresses
- Reviews mentioning “saggy” or “soft” beds
- Accommodations without elevators where your room is above the second floor
- Sofa beds or pull-out couches as your sleeping surface
I carry a bed wedge on longer trips. A foam wedge that goes under my knees (for sleeping on my back) or between my knees (for sleeping on my side) costs about $25 and completely changes how I sleep away from home.
I also bring my own pillow for neck support. It adds bulk to packing, but the alternative is using flat hotel pillows that wreck my neck and upper back.
When staying at Airbnbs, I message hosts directly: “I have chronic back pain. Can you tell me whether the bed is firm or soft, and whether there’s an elevator or only stairs?”
Build Movement Breaks Into Every Itinerary
Sitting still for extended periods is the single biggest trigger for back pain flares.
The solution sounds obvious: don’t sit still for extended periods. But it requires active planning.
During flights:
I set a timer on my phone for 45 minutes. When it goes off, I get up and walk to the back of the plane or stand in the galley for three to five minutes. I do gentle standing stretches: slow torso rotations, forward bends holding the seat, calf raises.
Flight attendants are generally fine with this. I explain briefly that I have back pain and need to stand periodically. I’ve never been told no.
During long flights I also do seated exercises: ankle circles, knee hugs, seated cat-cow stretches, shifting weight from side to side. Small movements prevent the stiffness that becomes pain.
During car journeys:
I stop every 60 to 90 minutes regardless of how the drive is going. Five minutes out of the car, walking around a parking lot or rest stop. More valuable than it sounds.
At destinations:
I build rest points into sightseeing. Museums have benches. Historic districts have cafés. Parks have grass. Every 45 to 60 minutes of walking, I sit somewhere with proper back support for 10 to 15 minutes.
I also plan active days and recovery days alternately. A day involving significant walking (a city tour, a museum, a hike) is followed by a slower day with mostly sitting activities or pure rest.
This rhythm prevents the cumulative pain buildup that turns a manageable trip into an early flight home.
Use Luggage That Protects Your Back
The wrong luggage destroys backs faster than almost anything else about travel.
Carrying a heavy backpack on one shoulder for extended periods in airports causes compensatory pain patterns that spiral into multi-day flares.
What works:
Four-wheeled spinner suitcases that you push rather than pull or carry. Pushing distributes effort evenly across your body instead of straining one side. The Samsonite Freeform spinner ($150 to $200) and AmazonBasics spinner ($60 to $80) both roll smoothly and hold up to airport abuse.
Rolling carry-on bags instead of large backpacks. Pulling a wheeled carry-on down an airport corridor is infinitely better for your back than carrying the same weight on your shoulders.
If you must use a backpack, wear it properly on both shoulders with the waist strap clipped and the shoulder straps adjusted so the bag sits high against your back. A bag hanging off one shoulder or sitting low on your lower back is the worst configuration possible.
Day bag for sightseeing: I use a small crossbody bag with minimal weight. My phone, wallet, medication, and water bottle. Nothing else. Heavy day bags pulled on one shoulder cause the same problem as airport backpacks.
I also use a luggage cart or porter service whenever available, without guilt. Many airports, train stations, and hotels have porters. A $5 to $10 tip to have someone carry your bags prevents a back flare that costs you two days of the trip.
Research Medical Facilities Before You Arrive
This sounds excessive until you need it.
Knowing where the nearest clinic, hospital, or pharmacy is before you’re in pain prevents panic decision-making when you’re in pain.
For every destination, I note:
- Nearest hospital with English-speaking staff
- Nearest pharmacy and their hours (many European pharmacies close Sundays, which matters if your medication runs out on Saturday night)
- Whether my travel insurance covers emergency treatment at that facility
- How to say “I have back pain and need pain medication” in the local language
I use Google Maps to save these locations offline before I leave wifi range.
I also carry extra medication beyond what I calculate I’ll need. If my trip is 10 days and I take two pills daily, I bring 30 pills. Running out of prescription pain medication in a foreign country is a complex, stressful, sometimes impossible problem to solve.
Travel insurance that includes medical evacuation is non-negotiable for travelers with chronic conditions. World Nomads and Allianz both offer comprehensive plans that cover pre-existing conditions with proper documentation. Read the fine print before purchasing.
Adjust Activities Without Canceling Everything
Chronic back pain requires flexibility in travel planning, not abandonment of travel entirely.
I’ve learned to modify rather than cancel:
Long hike I was looking forward to:
Instead of a six-hour trail, I do the first two miles out and back. I see the landscape, I move my body, I stop before I cause a flare.
Museum day:
I rent or request a wheelchair from the museum for extended visits. Many large museums offer this free or for a small fee. I walk the sections I’m most excited about, wheel through the rest.
City walking tour:
I message tour companies before booking to ask about duration, terrain, and pacing. Many offer modified routes or will let me drop out partway through without losing the full tour value.
Beach day:
I bring a beach chair with lumbar support instead of lying on a towel for hours. I bring my heating wrap for after.
Long drives through scenic areas:
I take them as a passenger when possible and build in stops every 60 minutes.
The mindset shift is from “can I do this?” to “how can I adapt this?” Almost every activity has a modified version that’s still worthwhile.
Frequently Asked Questions
What are the most important foolproof travel tips for travelers with chronic back pain flying long haul?
Book an aisle seat in the middle of the plane, request wheelchair assistance through the airport, bring your lumbar support and seat cushion in your carry-on, stand and walk every 45 minutes during the flight, use heat wraps that activate without power, carry all medications with you rather than in checked luggage, and do your full morning stretching routine before any early departure.
Can I bring a TENS unit through airport security?
Yes. TENS units are allowed through TSA security in the U.S. and most international airports. Carry it in your carry-on, not checked luggage. Remove it from your bag for screening. Bring your doctor’s letter explaining what it is and why you use it. Internationally, some countries have different rules, so check before traveling. Most modern TENS units look like small electronic devices and rarely cause screening issues.
What type of mattress should I request at hotels for back pain?
Request a firm or medium-firm mattress when booking and again at check-in. Major hotel chains like Marriott, Hilton, and Hyatt offer “sleep menus” with different mattress options upon request. If the mattress is too soft, you can ask for a board under the mattress, sleep on the floor with blankets, or use your bed wedge to modify your sleeping position. Always check reviews for bed comfort before booking.
Is travel insurance worth it for travelers with chronic back pain?
Absolutely, and non-negotiable. Look for policies that cover pre-existing conditions (you’ll need to declare your condition at purchase). Allianz, World Nomads, and Travel Guard all offer pre-existing condition coverage with proper documentation. Make sure the policy includes medical evacuation, emergency treatment, and trip cancellation due to medical flare-ups. Read exclusions carefully before purchasing.
How do I manage a back pain flare-up that happens mid-trip?
Stop all physical activity immediately. Apply heat or cold (whichever works better for your specific condition). Take medication as prescribed. Rest with proper positioning (on your back with knees elevated, or on your side with a pillow between knees). Contact your doctor from abroad using telehealth if needed. Most flares respond to 24 to 48 hours of rest and medication. If pain is severe or accompanied by new neurological symptoms (numbness, tingling, weakness), seek local emergency care immediately.
Conclusion
Chronic back pain doesn’t disqualify you from travel. It just means you travel smarter, plan more carefully, and carry more stuff than people who don’t understand why. The trips I’ve taken since my diagnosis have been some of the best of my life because I stopped trying to ignore my back and started planning around it. What’s the one trip you’ve been putting off because of back pain?